ThreadLocal使用,配合拦截器HandlerInterceptor使用
ThreadLocal的使用场景通常涉及多线程环境下需要为每个线程保留独立状态的情况。它提供了一种简单的方式来管理线程本地变量,使得每个线程都可以独立地访问和修改自己的变量副本,而不会影响其他线程的副本。
包括的方法
ThreadLocal的主要方法包括:
-
get():获取当前线程的变量副本。
-
set(value):设置当前线程的变量副本为给定的值。
-
remove():移除当前线程的变量副本。
项目中创建
定义BaseContext类,分别设置获取当前内容、设置当前内容、移出当前内容。
public class BaseContext {
    public static ThreadLocal<Long> threadLocal = new ThreadLocal<>();

    public static Long getCurrentId() {
        return threadLocal.get();
    }

    public static void setCurrentId(Long currentId) {
        threadLocal.set(currentId);
    }

    public static void removeCurrentId(Long id) {
        threadLocal.remove();
    }
}
需要注意的是,ThreadLocal使用完毕后应该及时调用remove()方法来清除当前线程的变量副本,以避免内存泄漏问题。另外,由于ThreadLocal使用了线程封闭的设计思想,因此在使用时应当谨慎考虑其适用性,并避免滥用。
在项目中简单使用
在发送请求时,携带id,最后在service层获取。
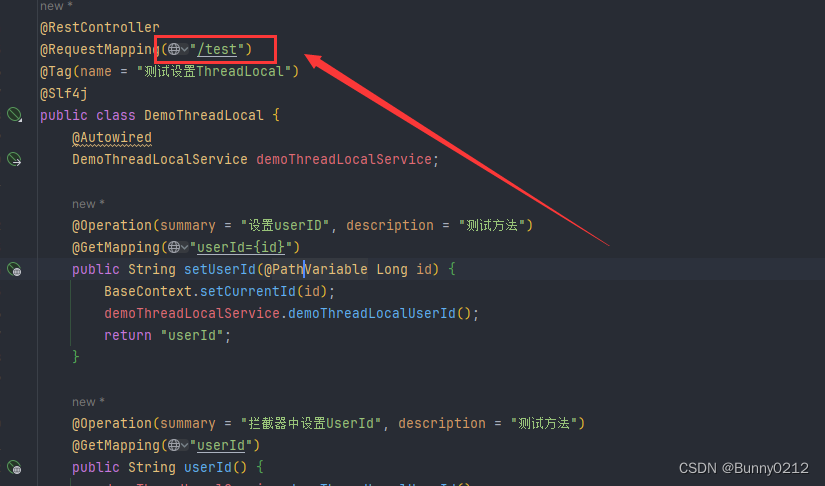
@RestController
@RequestMapping("/test")
@Tag(name = "测试设置ThreadLocal")
@Slf4j
public class DemoThreadLocal {
    @Autowired
    DemoThreadLocalService demoThreadLocalService;

    @Operation(summary = "设置userID", description = "测试方法")
    @GetMapping("userId={id}")
    public String setUserId(@PathVariable Long id) {
        BaseContext.setCurrentId(id);
        demoThreadLocalService.demoThreadLocalUserId();
        return "userId";
    }
}
service接口。
public interface DemoThreadLocalService {
    void demoThreadLocalUserId();
}
service实现类中获取id。
@Service
@Slf4j
public class DemoThreadLocalServiceImpl implements DemoThreadLocalService {
@Override
public void demoThreadLocalUserId() {
Long currentId = BaseContext.getCurrentId();
log.info("当前id为:{}", currentId);
BaseContext.removeCurrentId(currentId);
}
}

配合拦截器使用
第一步:配置拦截器
-
新建interceptor包和TokenUserInterceptor类,实现HandlerInterceptor;并交给spring管理。
-
实现public boolean preHandle(HttpServletRequest request, HttpServletResponse response, Object handler) throws Exception方法。
-
我是将token放在header中的,当然也可以放在cookies中。
-
判断当前token是否为空,如果为空返回false,不往下执行。
-
做到这步还没结束,因为这样写还不会生效。
-
新建config包,创建WebMvcConfiguration 并实现WebMvcConfigurationSupport
@Component
@Slf4j
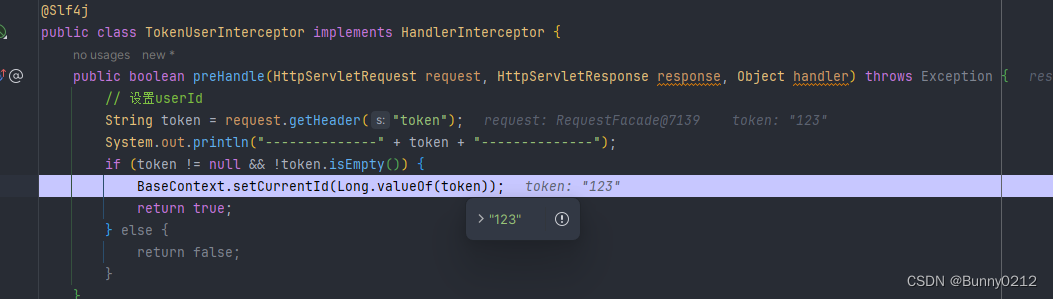
public class TokenUserInterceptor implements HandlerInterceptor {
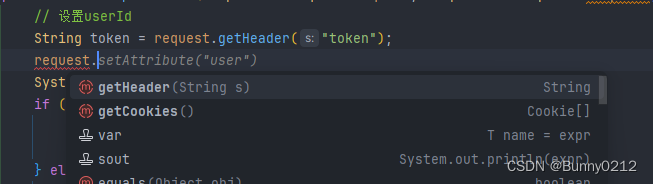
public boolean preHandle(HttpServletRequest request, HttpServletResponse response, Object handler) throws Exception {
String token = request.getHeader("token");
System.out.println("--------------" + token + "--------------");
if (token != null && !token.isEmpty()) {
BaseContext.setCurrentId(Long.valueOf(token));
return true;
} else {
return false;
}
}
}
第二步:配置MVC设置
匹配路径
WebMvcConfiguration内容如下。配置拦截器这样才会生效。需要拦截/test下所有请求,如图所示,拦截器识别不了通配符所以要使用addPathPatterns去匹配。
其中的方式是:protected void addInterceptors(InterceptorRegistry registry)
@Configuration
@Slf4j
public class WebMvcConfiguration extends WebMvcConfigurationSupport {
@Autowired
TokenUserInterceptor tokenUserInterceptor;
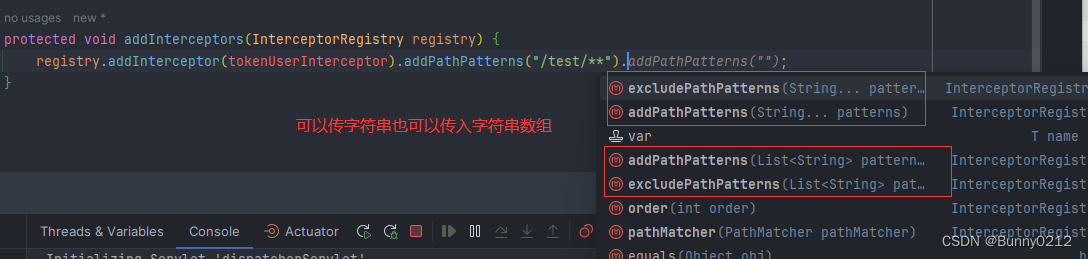
protected void addInterceptors(InterceptorRegistry registry) {
registry.addInterceptor(tokenUserInterceptor).addPathPatterns("/test/**");
}
}
需要注意的是,当前只是传入一个也可以传入多个。当匹配后即可实现拦截效果,检测header中是否包含token。
示例,为了演示效果就随便写了下。
protected void addInterceptors(InterceptorRegistry registry) {
    String[] list = {};
    registry.addInterceptor(tokenUserInterceptor)
            .addPathPatterns("/test/**").addPathPatterns("/test2").addPathPatterns("/test3")
            .addPathPatterns("asa", "sas","sas")
            .addPathPatterns(list);
}
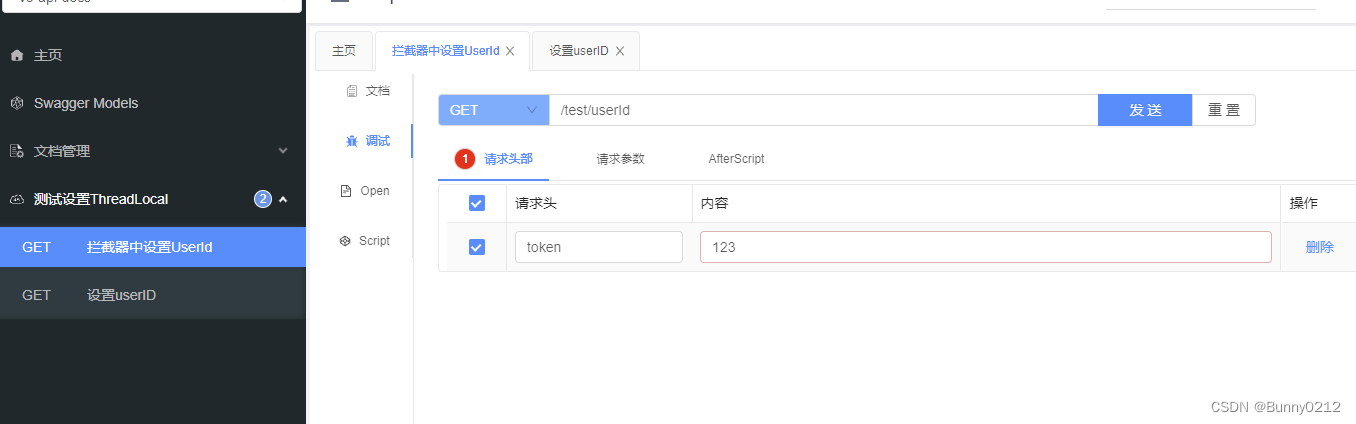
在knif4j中测试,成功输出。

排出路径
排出哪些路径是不需要拦截的。
protected void addInterceptors(InterceptorRegistry registry) {
    String[] list = {};
    registry.addInterceptor(tokenUserInterceptor)
            .addPathPatterns("/test/**").excludePathPatterns("/test2").excludePathPatterns("/test3")
            .excludePathPatterns("asa", "sas", "sas")
            .excludePathPatterns(list);
}

第三步:Controller层中
controller层,在路径中不传入id,通过拦截器获取header中token。这一层并不需要做什么,只是为了写一个接口让MVC拦截。
@RestController
@RequestMapping("/test")
@Tag(name = "测试设置ThreadLocal")
@Slf4j
public class DemoThreadLocal {
    @Autowired
    DemoThreadLocalService demoThreadLocalService;

    @Operation(summary = "拦截器中设置UserId", description = "测试方法")
    @GetMapping("userId")
    public String userId() {
        demoThreadLocalService.demoThreadLocalUserId();
        return "userId";
    }
}
第四步:查看内容
service和上面一样。
@Service
@Slf4j
public class DemoThreadLocalServiceImpl implements DemoThreadLocalService {
@Override
public void demoThreadLocalUserId() {
Long currentId = BaseContext.getCurrentId();
log.info("当前id为:{}", currentId);
BaseContext.removeCurrentId(currentId);
}
}
emoThreadLocalUserId() {
Long currentId = BaseContext.getCurrentId();
log.info("当前id为:{}", currentId);
BaseContext.removeCurrentId(currentId);
}
}
 提供CDN加速